
Interactive Quiz
What is it?
An exercise that takes you through the steps to make an interactive quiz, using HTML, CSS and JavaScript.
Why should I learn it?
You've learned a lot of different skills with HTML, CSS and JavaScript. Now it's time to pull it all together for a more comprehensive project.
What can I do with it?
This is just one exercise that demonstrates what you can do with an interactive website. From here, you can manipulate the code for your own purposes and start thinking about how you'd create your own interactive projects.
How long will it take?
Programming is something that you learn over time, through practice. This exercise will take a few hours, but you will need to spend some time working with these skills after you complete it.
Getting Started
We are going to be working on a page that will ultimately contain an interactive quiz. To start, we will create the page with the questions. We’ll then add the form elements. Later, we’ll make it interactive, so it can score the quiz. While we're at it, we'll use the quiz content to refresh your memory on some JavaScript concepts.
Let's begin with a basic HTML page to get us started.
Name it anything you want, as long as it has an .html extension. Open this page in a browser. See how it looks. Right now, it’s just basic text.
If you want to use the images I used in this tutorial, you can find them here, but feel free to use any images you want in creating your own projects. Be creative! For your own Interactive Quiz Project, you will be developing the quiz in a Bootstrap-enabled page.
Basic CSS
Add the CSS code to the right to the head of the document, so you can start designing the page. Make sure you enclose the styles within the opening and closing styles element We'll be creating the divs for main and header next.
I have added an image to fit in the head of the document, that you can find here, if you'd like to use it. Feel free to use another image or style the heading section in a different way, if you want.
Code Sample - Basic CSS
Creating Sections
Replace the elements currently in the body section with the code to the right. We want to create two sections, a main section and a header within the page to contain an image. CreateWe’ll create a header section to hold the heading and a background image. We've also added some paragraphs and spans with unique ids to hold the result of the quiz grade. This is just a simple layout. For your own projects, you may need to create more elaborate layouts with CSS and Bootstrap classes.
Code Sample - Creating Sections
Notice the HTML comments that help describe the opening and closing locations of the divs. These are optional and don't affect the look of the page, but as you get more divs, it is helpful to add these to stay organized.
Creating the Form
Let's create the form that will contain our quiz. For this, we will be using several different radio buttons usingThe correct answer will receive a value of 25, and an incorrect answer will receive a value of 0. You can, of course, set this up any way you want, depending on how you'd like to weight answers. For example, you might be creating a quiz that doesn't assess correct answers, but it provides different values in assessing something - like a quiz that determines what Game of Thrones character you are or what your knowledge of the '80s says about you.
In your document, replace the series of questions with the form script to the right. You will open the form tag, giving it an id of form1, so that can be used with the onsubmit event. Be sure to retain the DOM element you created to hold the score.
Code Sample - Form
You'll also need some CSS now to control the look of your form. Add the styles below to your style section. You may do other things to style your page, but here are some basic styles to format your labels as blocks and customize the button. Notice that the Submit button is in a button element, so it can be styled separately from the inputs.
Then create DOM elements to hold the scores and later, a meme. Put these paragraphs in the html below the form.
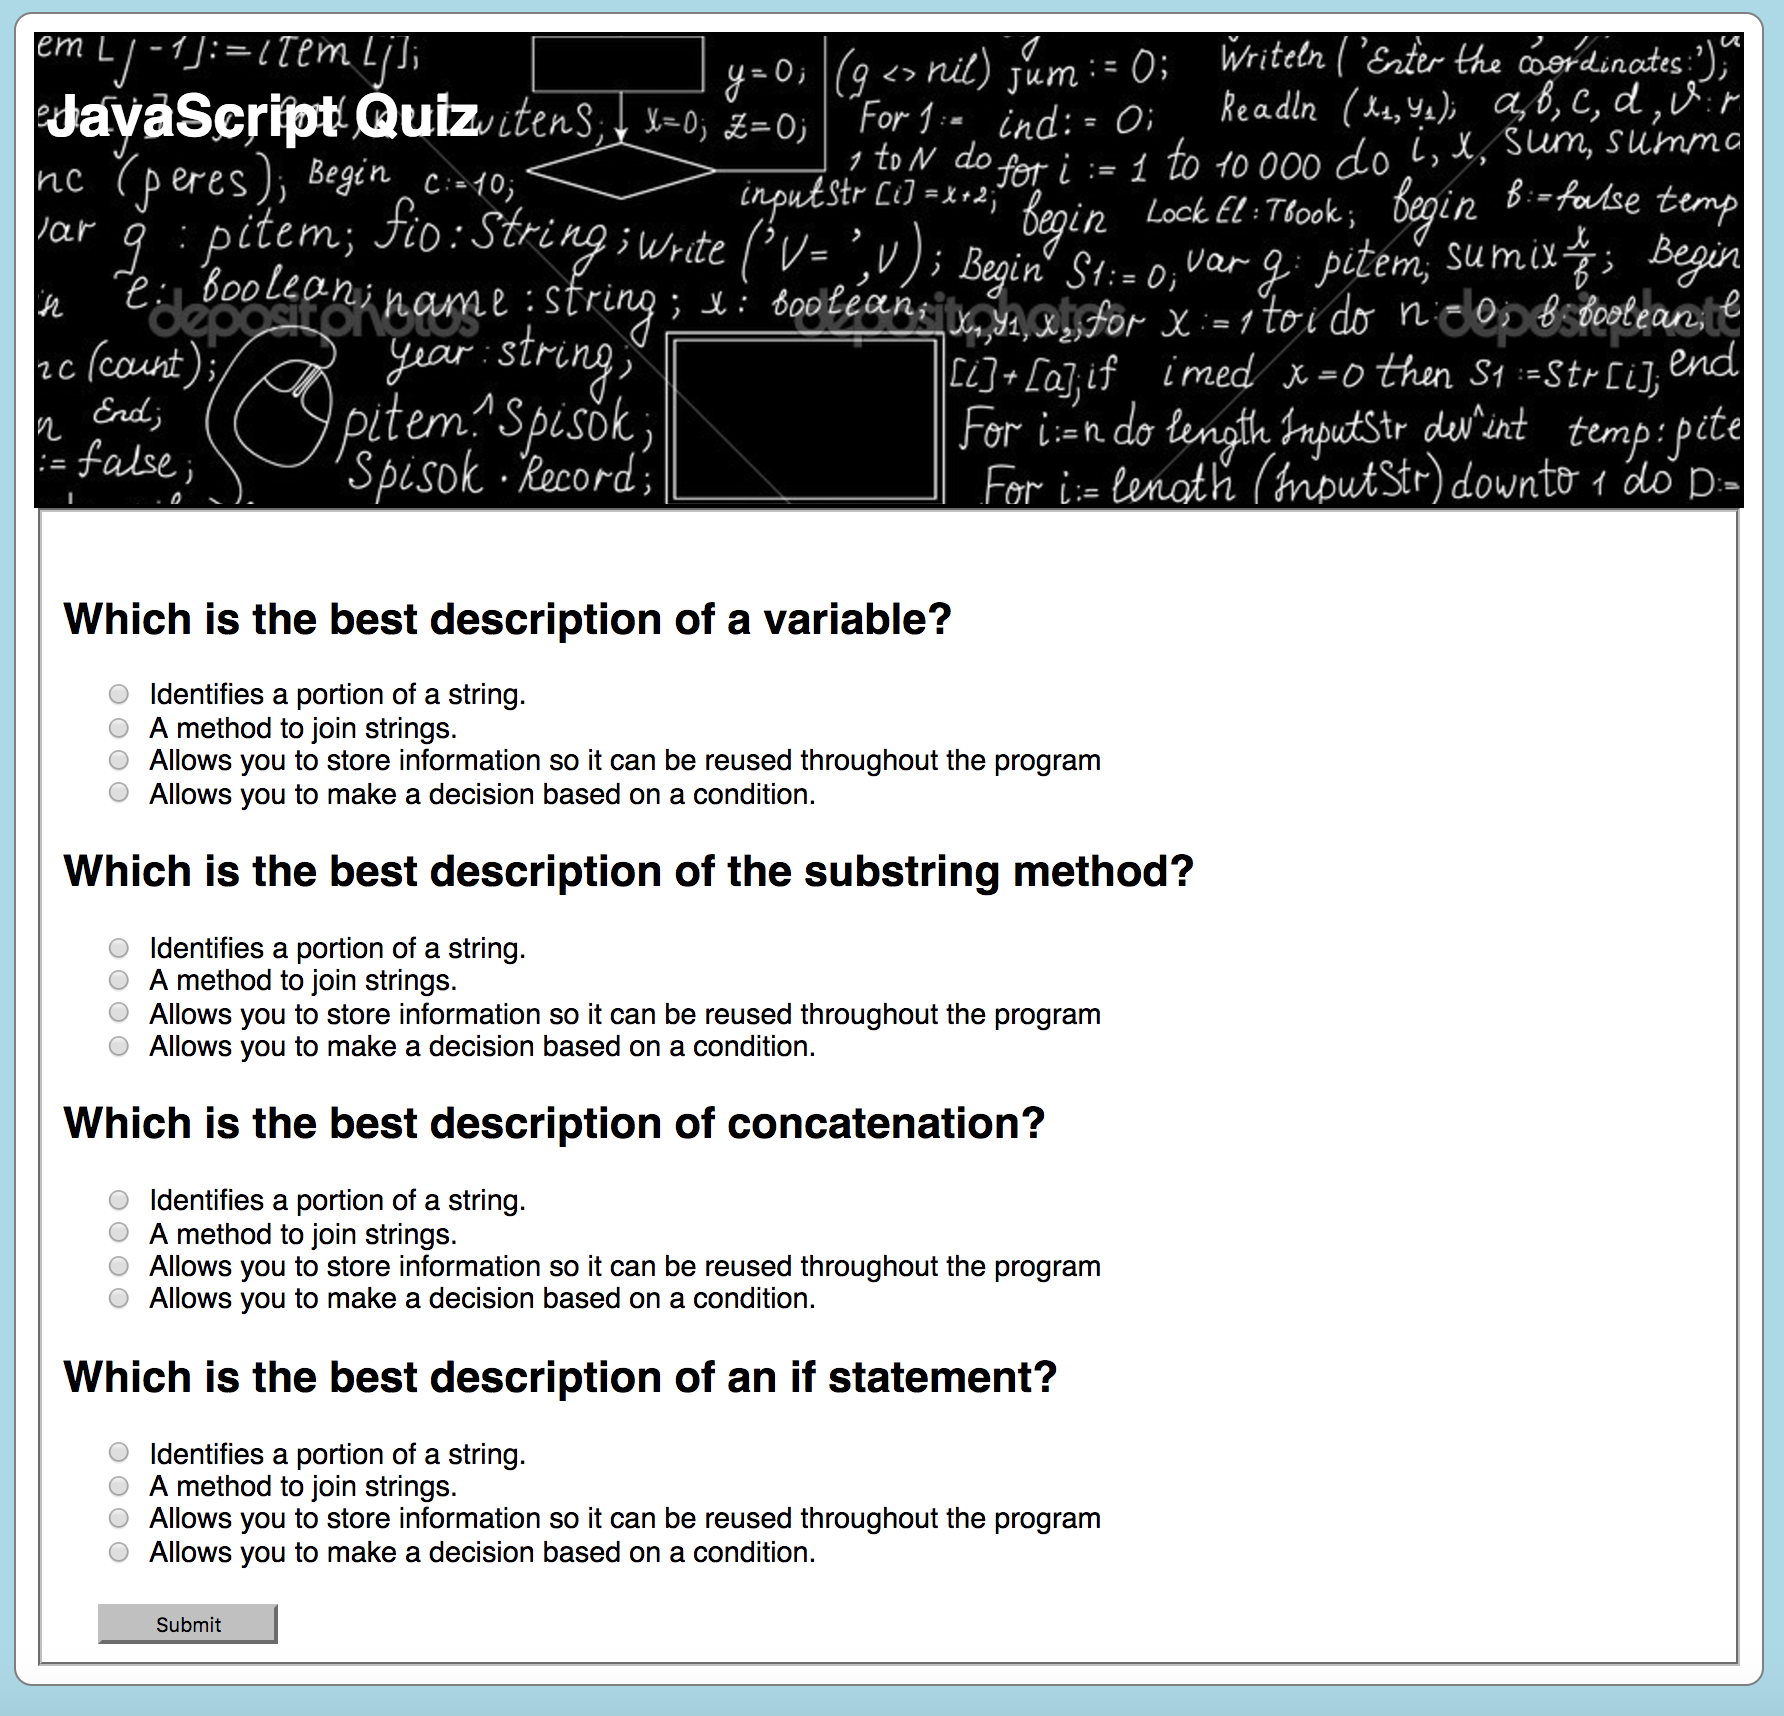
Your quiz should look something like the image below right now.
Adding Interactivity
So far, we have created a nice HTML page with some CSS styling. We have a form in it with several questions and answers. But now we need to add the functionality to the form with JavaScript, so that something happens when the form is submitted.
Updated. Slightly different than video: To get the value of a radio button, we have to evaluate which selection is checked. See the code to the right.
The result is calculated as the total of the four scores, and then that amount is passed via getElementById into the id "grade" in the HTML.
Save your document, refresh the page in the browser and take the quiz. Does it calculate a score? If so, you have a working quiz. If it doesn't work, check to see if there are errors in the console and troubleshoot your problem. We'll add some additional functionality in the next section.
Code Sample - Adding Interactivity
Recall from our previous exercise that we include theAdding Functionality
We also have a #grade2 id in the html. This is meant to hold a comment that changes based on the grade. Add the code to the right at end of your script, but before theCode Sample - Adding Functionality
You can achieve an evaluation within a range by using either "<=" or ">=" in your conditions. The if/else if statements will terminate when the code finds a match. Of course, you can change the messages to anything you want. Be nice!
A Little Fun
You can grab some images or gifs, if you want to add additional content to the result. Find the images and make sure that you include them in the folder with your quiz. In this example, the images are named none.jpg, poor.jpg, avg.jpg, above.jpg and excellent.jpg. If your images have other names, just make sure they correspond with what is in the code. And, it is helpful if you take some time to size the images consistently. Just add the img element to the statement for "result2".
Use CSS to style the image width, instead of pixel widths. For Bootstrap, put the img-fluid class on the img element.
Code Sample - A Little Fun
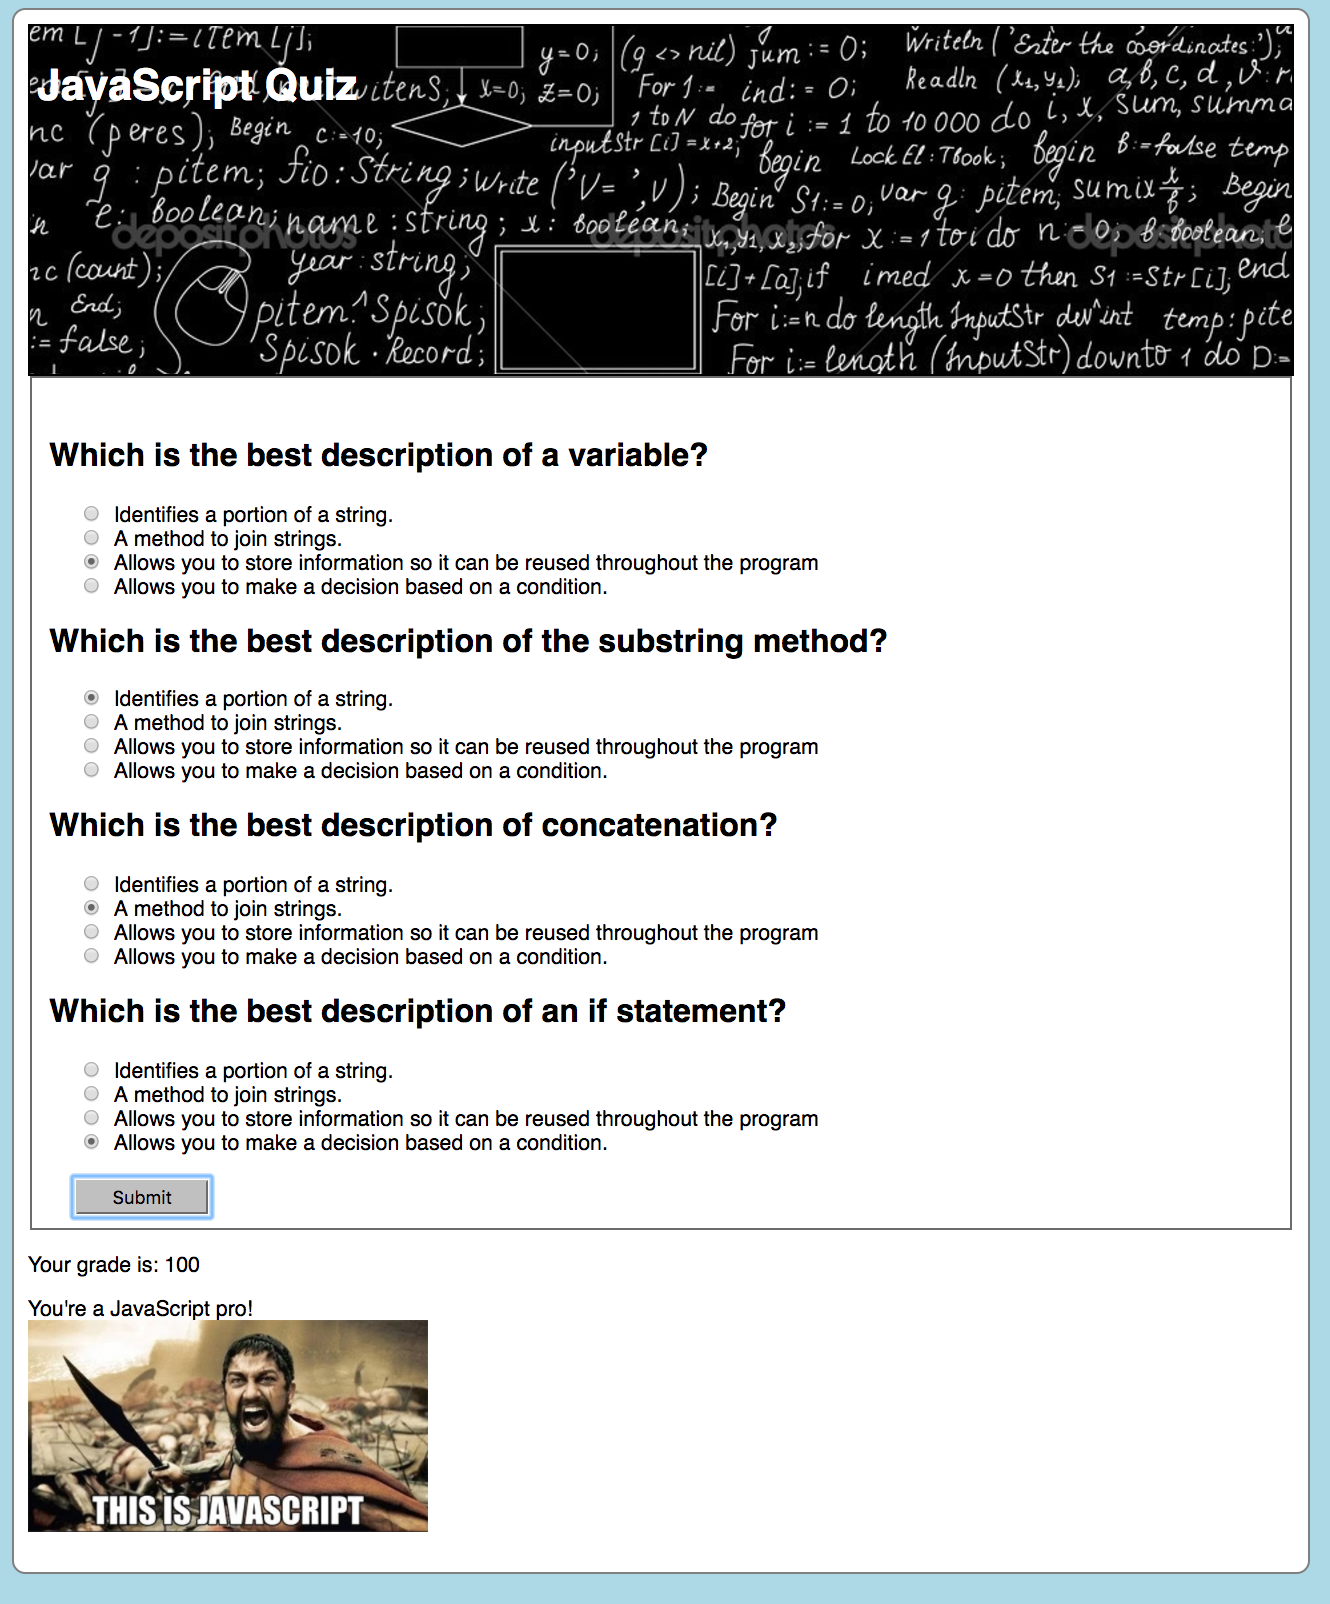
Your quiz should look something like this when completed!
Get Fancy with JSON
Your quiz works just fine. But those if statements are a little redundant. What if you could store the possible grades, along with feedback and an image in a data format? You can! You can use the JSON format to put each line in an object. Then you can use a loop to evaluate the answer. It will go through the JSON and if it finds a match with the score, result2 will be updated with the proper feedback and image, including the correct html in the statement. See the code to the right. Replace the section with the if statements with this code.
As noted above, use CSS to style the image width, instead of pixel widths. For Bootstrap, put the img-fluid class on the img element.
Code Sample - Get Fancy with JSON
Add a Question
Did you miss something? If your code isn't working, compare it to the final code to the right.
Once you get everything working, try adding another question. How does your script have to change to accomodate another question in the form, the values for correct answer, a way to evaluate the score in the script, the totals and the result messages?
After you get everything working with your new question, convert one of the questions to a dropdown. What do you have to do to capture the value from a dropdown? How is that different than a radio button series?
Code Sample - Add a Question
BuzzFeed Style Quiz
Copy and paste the code to the right into a text editor and save with an html extension. This is a short quiz with three questions. Instead of having a right or wrong answer, it uses values to evaluate something about the user. Depending on the person's score, they get paired up with an Austin-based band.
Use the script for functionality, but you will want to create a more interesting design. For instance, you might include a graphic or photo in the header section for visual interest. You might also want to change the way that the answer is calculated, using different ways to weight the answers. And, you could add an image to correspond to the answer, as we did in the Interactive Quiz tutorial. And you should have more than three questions.
Code Sample - BuzzFeed Stye Quiz
Validating If Elements Are Selected
So far, our forms have required the user to fill out all elements before submitting. If someone forgets to select a radio button or fill out a text field, the form doesn't work. But that's not how forms work in the real world. People make mistakes all the time and your script must anticipate and handle certain mistakes. This can get very complicated, when you consider things like format of entries, but we can start by checking to see if all fields are filled out. If not, we can send the user an alert. See the code sample and replace the script area in the previous example. The script uses an if statement to check if all elements have a checked value. If so, it progresses with the rest of the script. If not, it moves to the else statement that provides the alert.
This is just one way to handle this situation. You may want to allow people to skip an item. If you want to assign a "default value" for a field if a user doesn't select one, you can use an if statement to check for the value and then the else statement to assign the default value. Try doing this with a series of if/else statements, one for each form element. Be careful that this doesn't skew the results of your quiz or calculator. See the second code sample and replace the script area.
Code Sample - Validating If Elements Are Selected
Code Sample - Validating and Providing a Default Value
Each form element is validated. If there is not a checked value, the default is 0
BuzzFeed Style Quiz - More Advanced Algorithm
Sometimes you need to use a more elaborate scoring algorithm. You might want to weight items differently by multiplying them to something before you add them to the result. Or you might want to get a point (or more) each time someone picks an element that meets the criteria for one of your answers - putting each score in a bucket and using the script to evaluate the one with the highest number. The script to the right does that.
Carefully consider your algorithm when you are creating forms with results.
Code Sample - BuzzFeed Stye Quiz
Another Exercise
Get some practice solving problems using forms with radio buttons.
In the code on the right, I have started a form that has two radio button groups. The user rates an instructor on a scale of 1-5 for each question. You will provide an analysis of their answers.
- Return the result of Question 1 to the DOM.
- Return the result of Question 2 to the DOM.
- Return the Total of the 2 questions to the DOM.
- Return the Average of the 2 questions to the DOM.
- Return Yes or No to the DOM if the Average is 3 or higher.
- Specify which questions the user gave a score of 5 to the instructor. This one is a little more challenging. Hint: You can use the push command to push an element to an array. So, each time you get a variable for the score, push it like this -- arrayname.push(q1). Then use a loop to go through the array and find the elements that are 5.
- Let's think through the situation in which a user forgets to answer one or more questions on the evaluation. They should still be able to submit it. What should we do to handle this problem?
You should be able to get 1-4 pretty easily. 5 is a little harder and 6 is a bit challenging. 7 just requires a strategy for implementation. Try to come up with an approach and solution to all these problems.
Code Sample - Another Exercise
Moving On
You've had a lot of experience now with using programming techniques to solve a variety of problems. Next we’ll apply even more comprehensive techniques with the Interactive Charting Exercise.